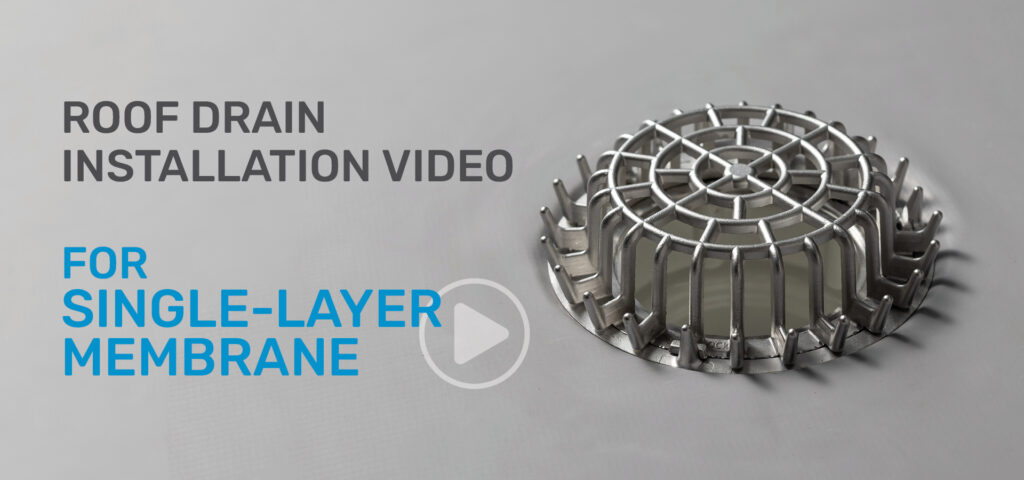
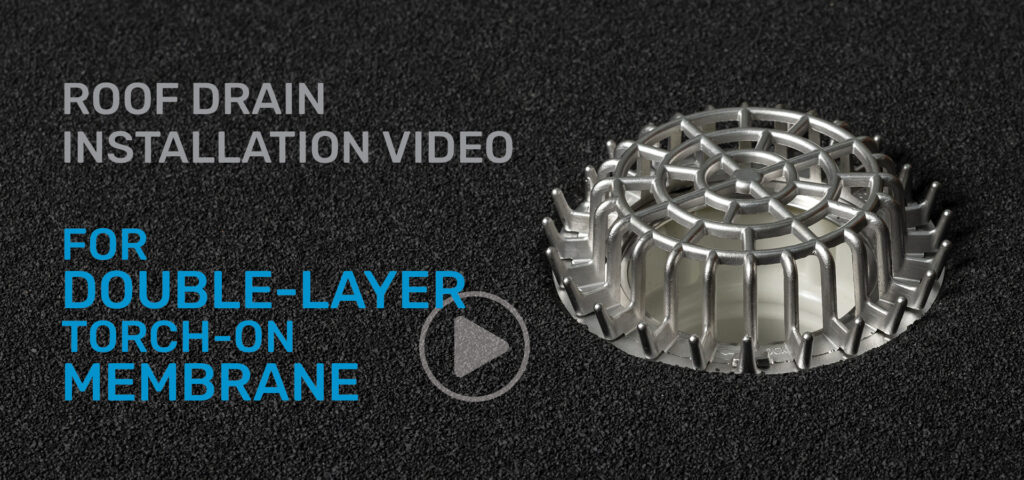
How to install a Membrane Clamping outlet
We’re sharing this important update to help make your work easier and more effective.
For the first time, clear, step-by-step instructions for installing Membrane Clamping Outlets are available – no more second-guessing.
Whether you’re an applicator or a designer, this resource will help ensure watertight results and protect the integrity of the Membrane Systems.
In New Zealand, Waterproofing membranes have been installed since the 1960s and have now evolved into high-performance systems. Until now, there has not been a consensus on installation.
For the first time, clear instructions are now freely available for both Single-Ply and Torch-On systems, in order to remove any ambiguity from the process.
A roof is vital to any structure, and leaks have serious consequences. Aquaknight Industries has created instructional videos for Membrane Clamping Outlet installation, critical for any membrane area.
In collaboration with global membrane suppliers and the Waterproofing Membrane Association NZ, these videos are aimed primarily at membrane applicators, while also benefiting designers by revealing some of the dark arts of membrane installation.
Properly installed waterproofing membranes are very effective at keeping water out, and correct installation forms part of any system warranty.
Gain clarity on membrane detailing – watch the video and see exactly how it should be done on site.
Click on the images below to view the videos: